Mac Setup
Installing Astrill on Mac
This guide walks you through downloading, installing, and connecting with the Astrill app on a Mac, from a completely fresh start.
Go to the Download page
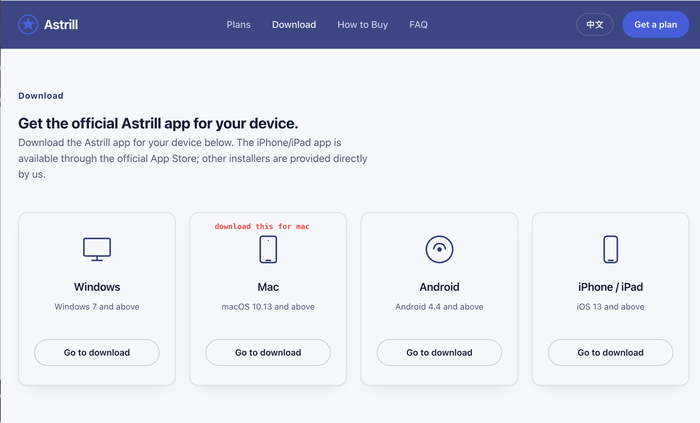
Visit our Download page and click "Go to download" under the Mac card.
Wait for the download to finish
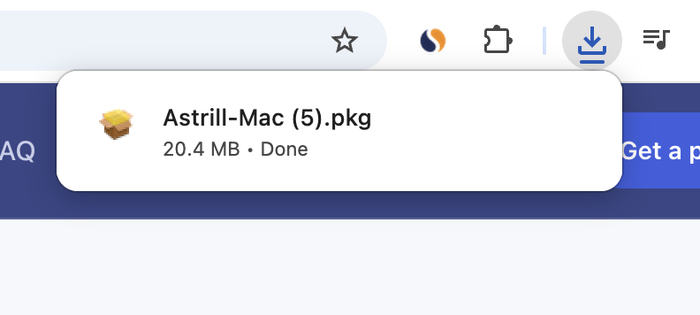
Your browser will download a .pkg file (around 20–21 MB). You'll see a confirmation in your browser's download tray once it's done.
Open the downloaded file
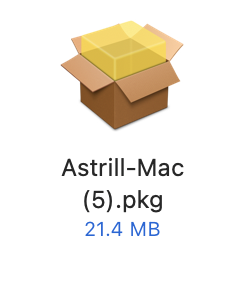
Find the .pkg file in your Downloads folder and double-click it to start the installer.
Start the installer
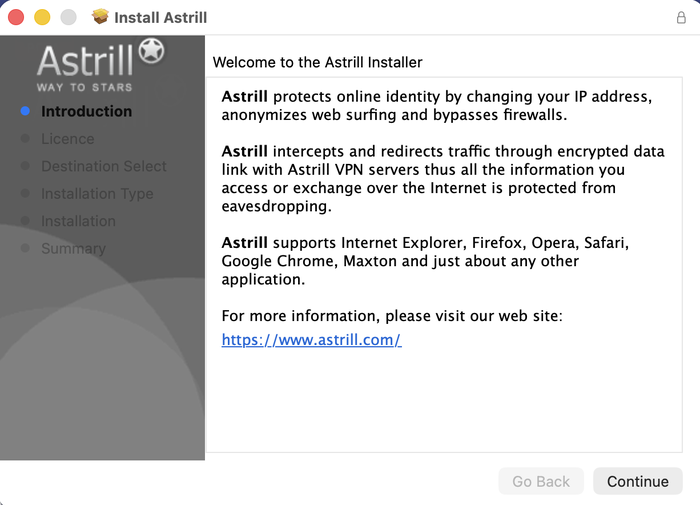
The installer opens with an introduction screen describing what Astrill does. Click "Continue."
Accept the license agreement
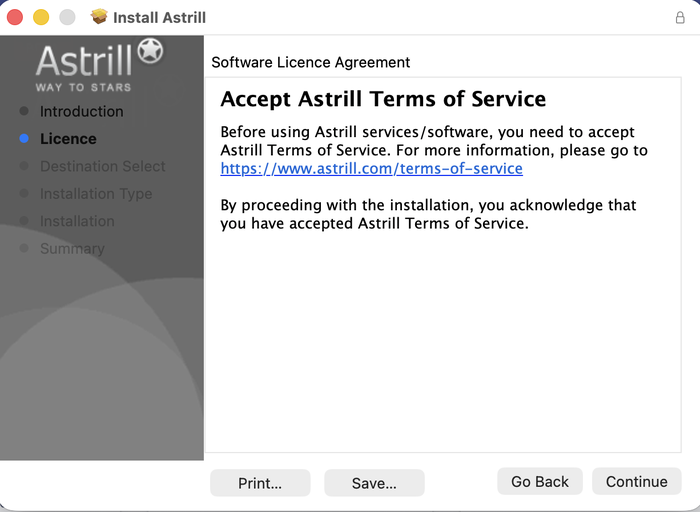
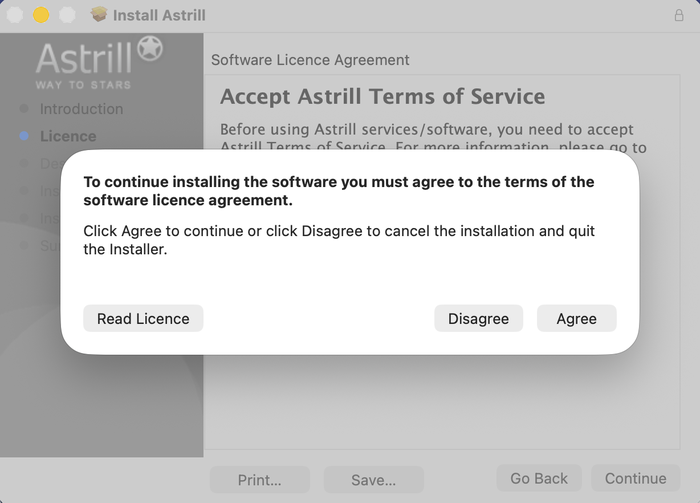
Click "Continue," then click "Agree" on the popup to accept Astrill's terms of service.
Install
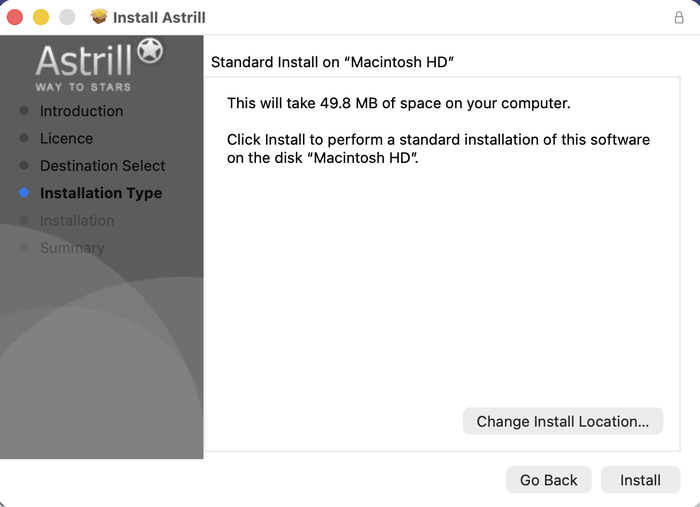
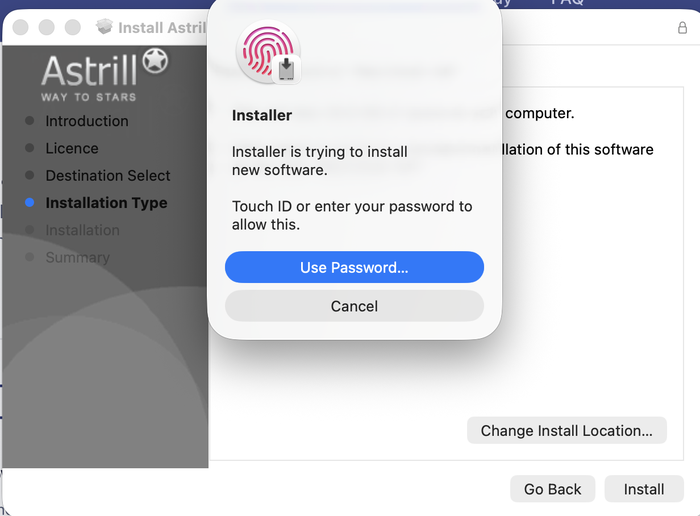
Click "Install" to proceed with the standard installation. macOS will ask for your Mac's login password or Touch ID to authorize it — this is a normal part of installing any new app on macOS.
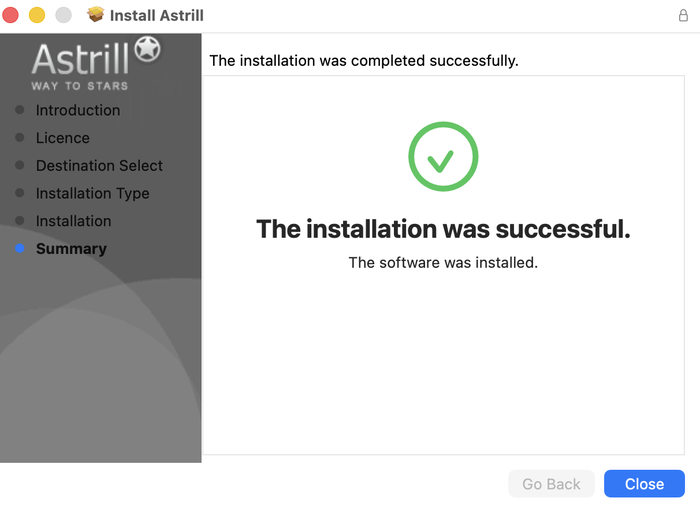
Installation complete
Once you see "The installation was successful," click "Close." Astrill is now installed and ready to open.
Open Astrill and log in
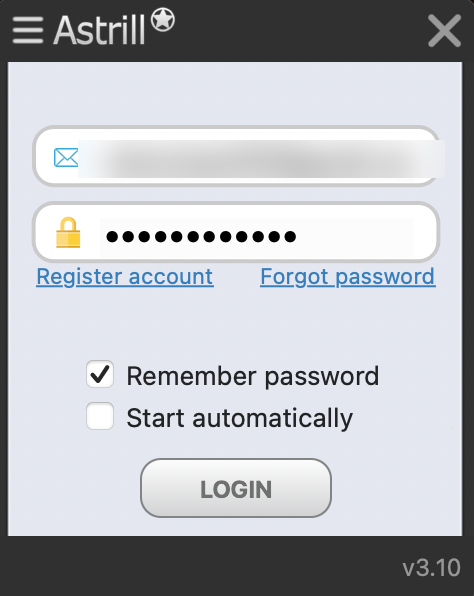
Open the Astrill app (from Applications or Launchpad), then enter the email and password from your purchase confirmation email and click "LOGIN."
Skip the rating prompt (optional)
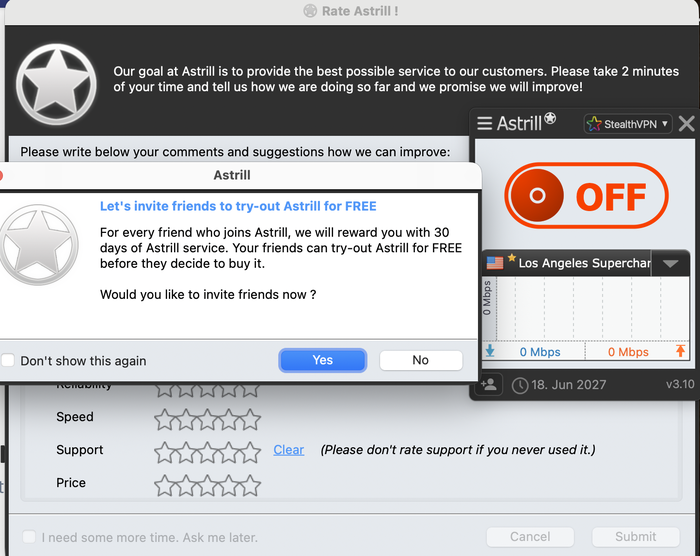
On first login you may see a "Rate Astrill" or "invite friends" popup. These are optional — feel free to close them and continue.
Choose a server and connect
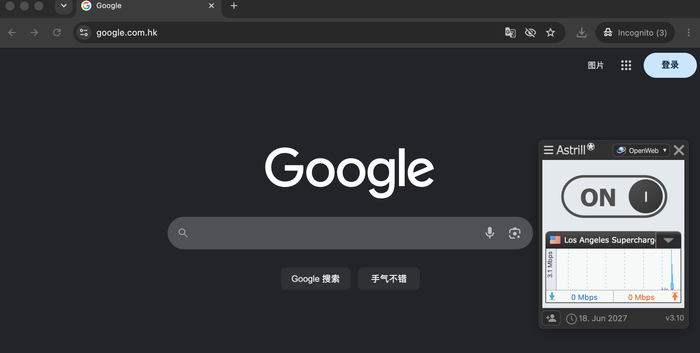
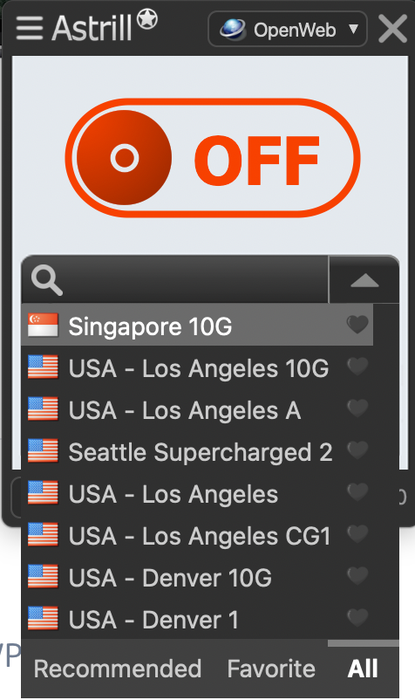
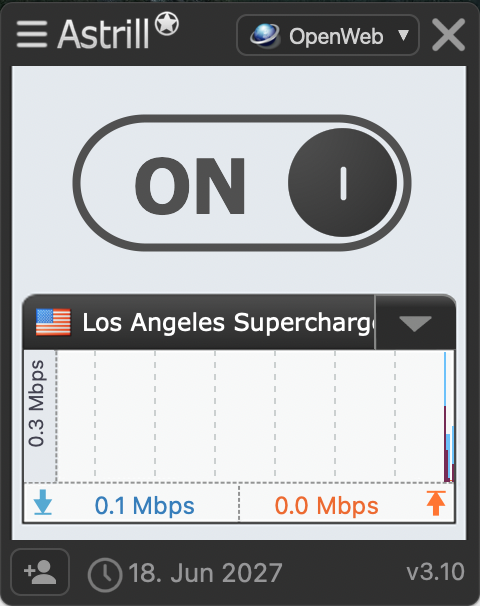
Click the server name dropdown to see the full list, choose one, then click the OFF switch to connect. It will turn to a black "ON" once connected. The small graph below shows your live connection speed.
You're connected
Once connected, you can browse normally — the small Astrill window stays available so you can check your speed or switch servers any time. If a server feels slow, simply pick another one from the list.