iPhone & iPad Setup
Installing Astrill on iPhone or iPad
Astrill's iOS app is downloaded through the App Store, then activated with the account you receive after purchase. This guide covers both iPhone and iPad — the steps are the same.
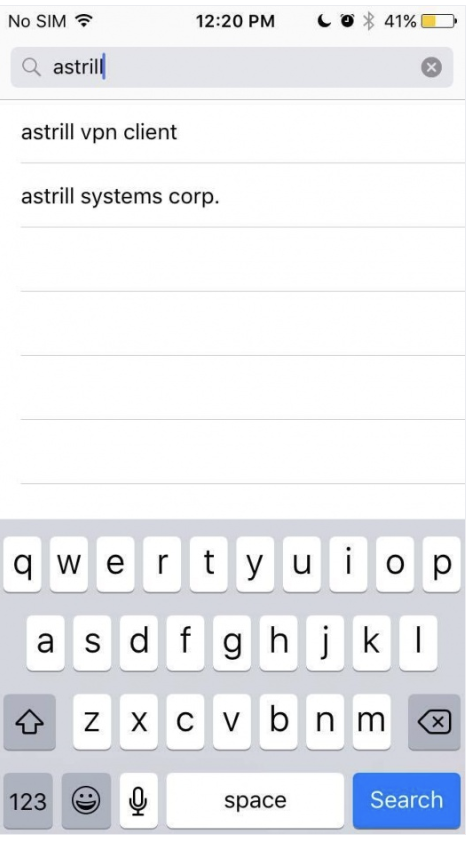
Search for Astrill in the App Store
Open the App Store on your iPhone or iPad and search for "astrill." Tap on "astrill vpn client" in the suggestions, or just search and tap Search.
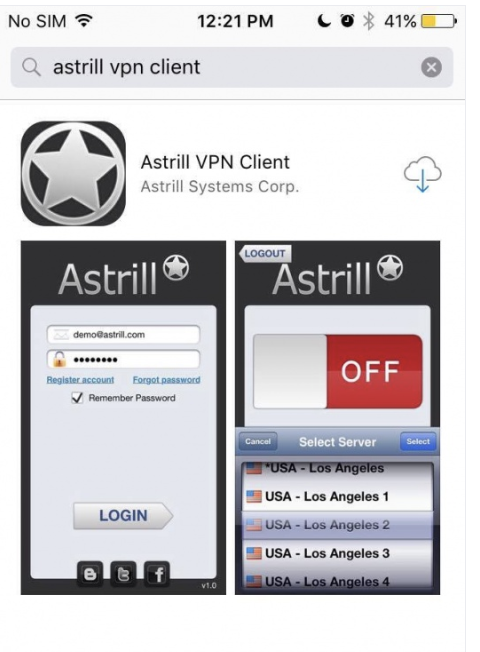
Tap to install
You'll see "Astrill VPN Client" by Astrill Systems Corp. Tap the cloud download icon (or "GET" if you've never installed it before) to start the download.
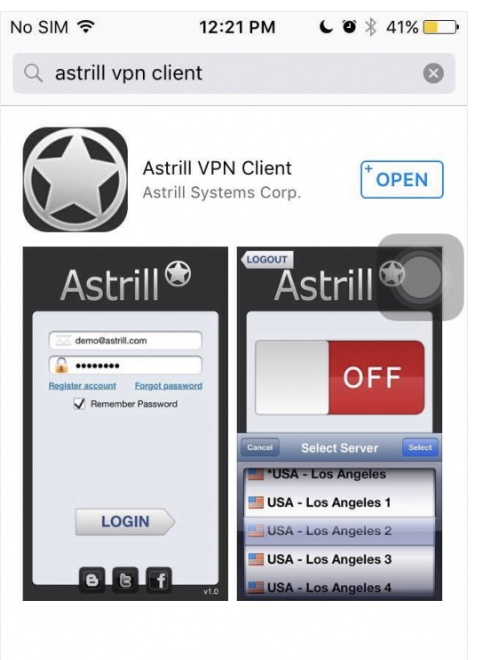
Open the app
Once the download finishes, the button changes to "OPEN." Tap it to launch Astrill, or find the icon on your home screen.
Log in with your account
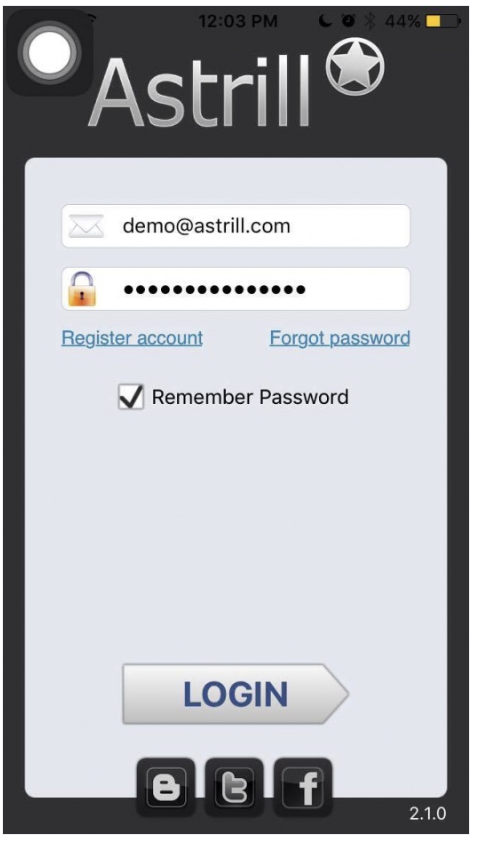
Enter the email and password from your purchase confirmation email, check "Remember Password" if you'd like, then tap "LOGIN." If you can't find this email, check your spam folder, or message us on WeChat and we'll resend it.
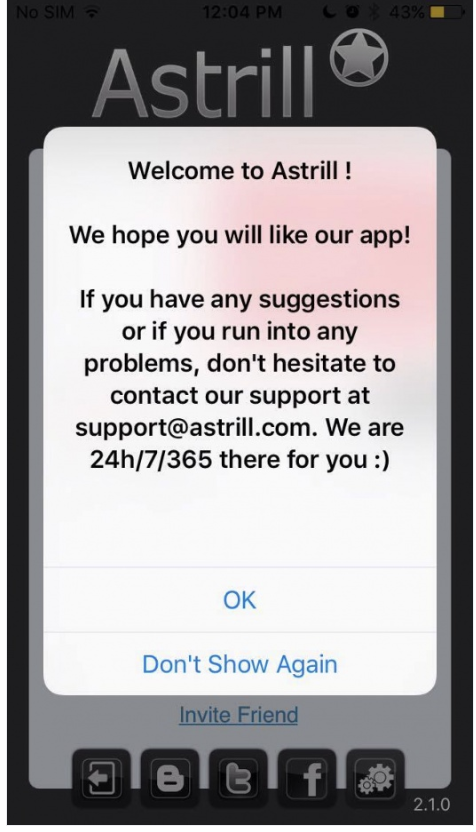
Welcome message
On first login you'll see a short welcome message with our support contact. Tap "OK" to continue (or "Don't Show Again" if you don't want to see it next time).
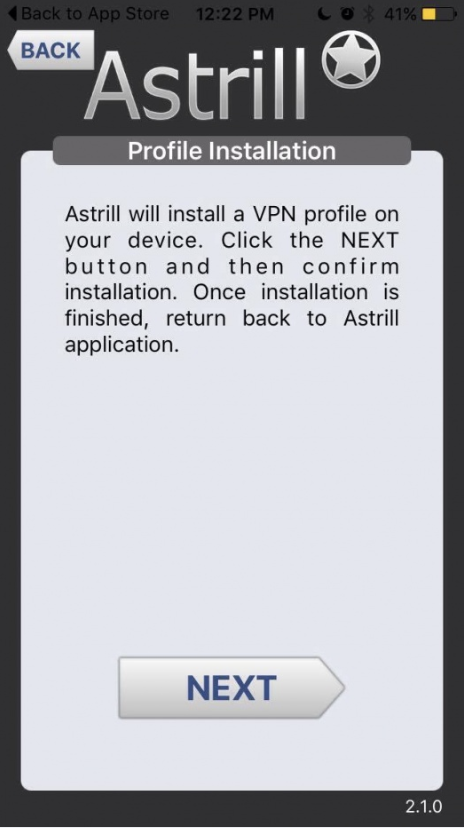
Start the VPN profile installation
Astrill needs to install a VPN profile on your device to connect — this is how every VPN app on iOS works. Tap "NEXT" to begin.
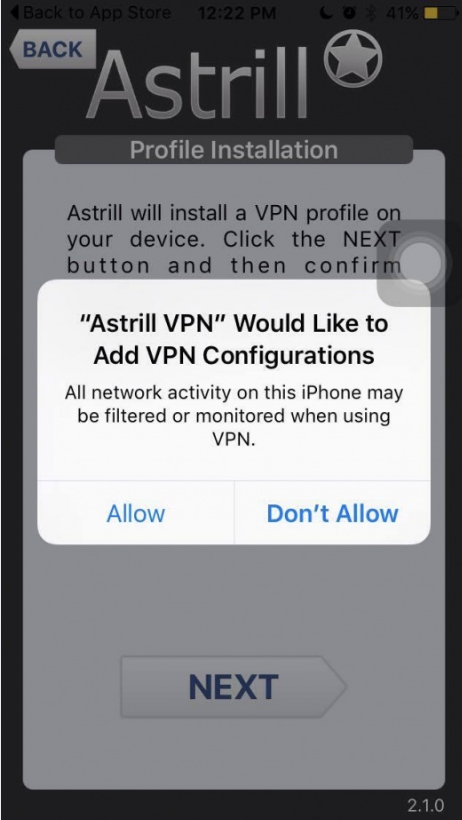
Allow the VPN configuration request
iOS will show a system prompt asking if Astrill can add VPN configurations. Tap "Allow" to continue — this is standard for any VPN app on iOS, not specific to Astrill.
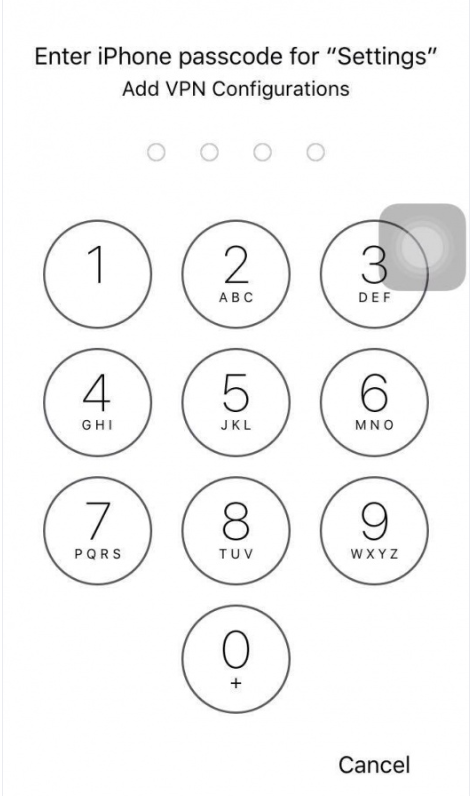
Confirm with your passcode
Enter your iPhone or iPad passcode (or use Face ID/Touch ID if prompted) to confirm adding the VPN configuration.
Choose a server
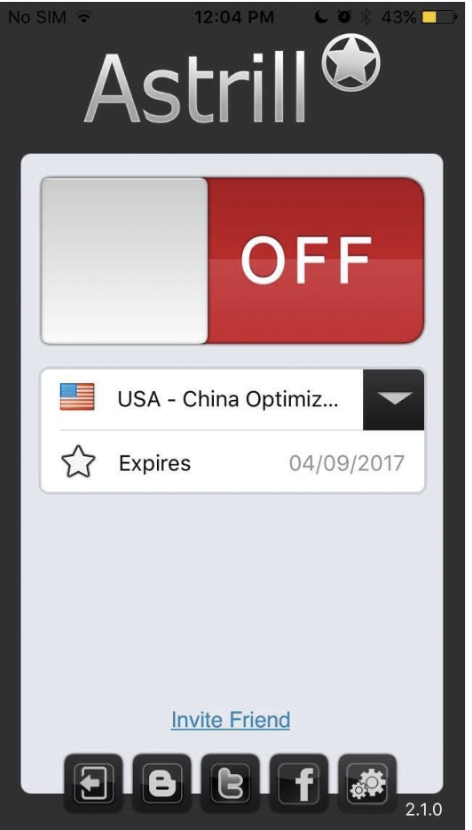
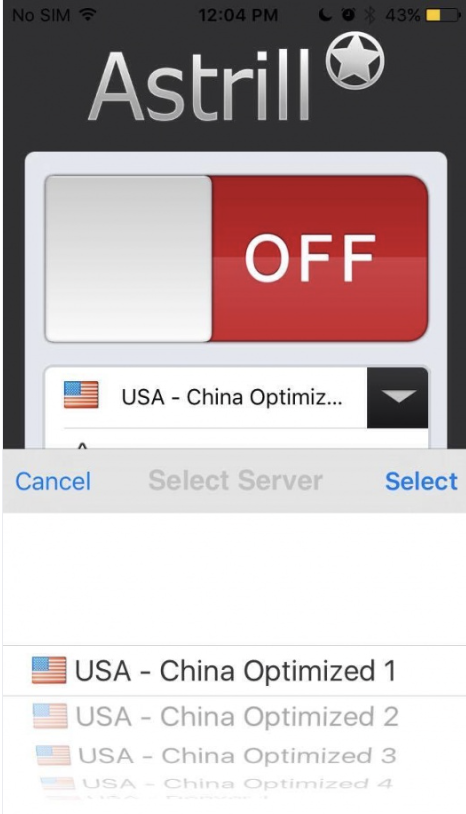
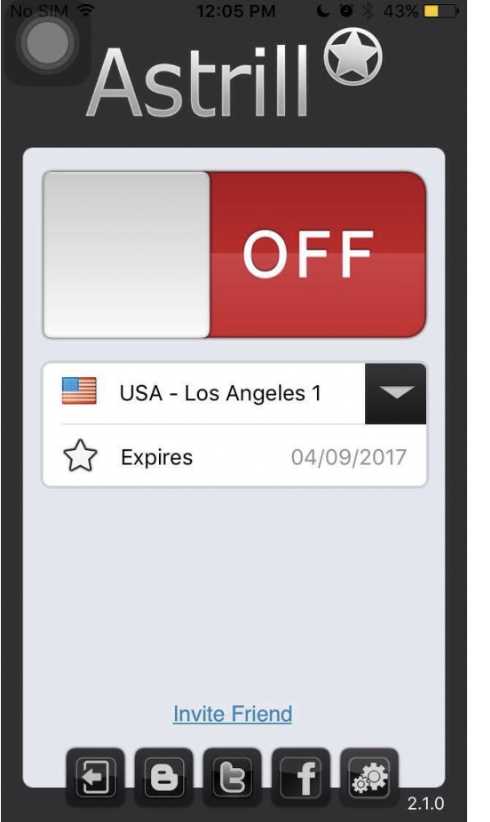
Back in the app, tap the server dropdown to see the full list of available locations, then choose one.
Connect
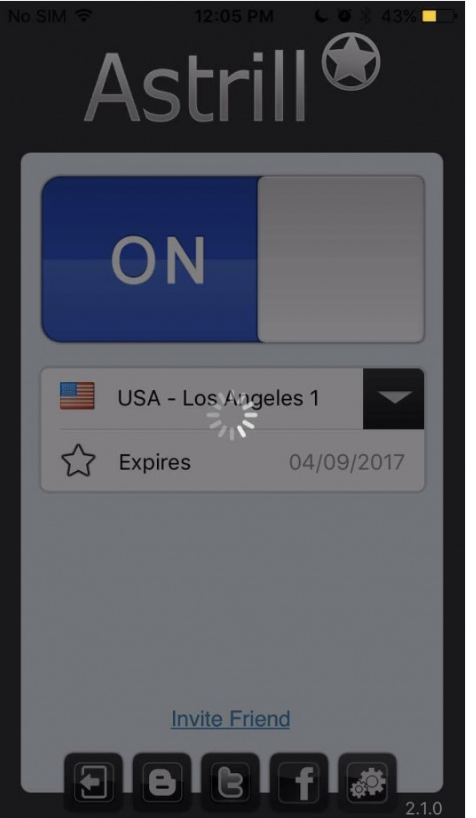
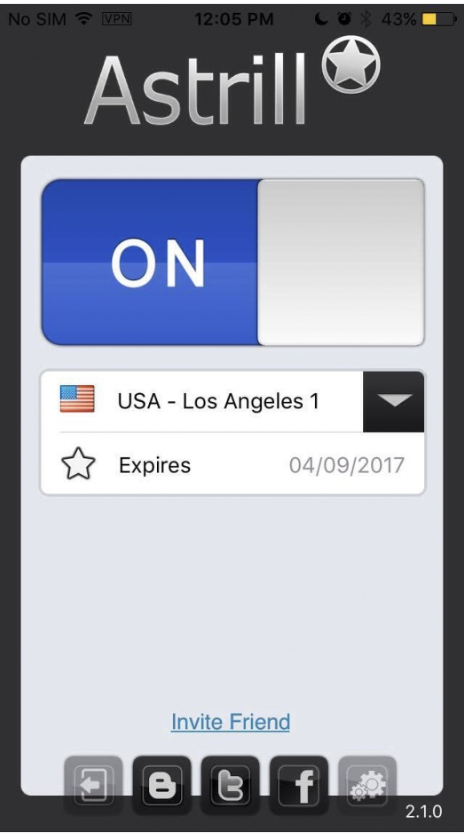
Tap the OFF switch to connect. You'll briefly see a loading spinner while it connects, then the switch turns blue and shows "ON," with a small VPN icon appearing in your status bar.
If a server feels slow
Disconnect and try a different server from the list — speeds vary by server load and time of day, and switching is the normal way to find a faster connection.
Advanced settings (optional)
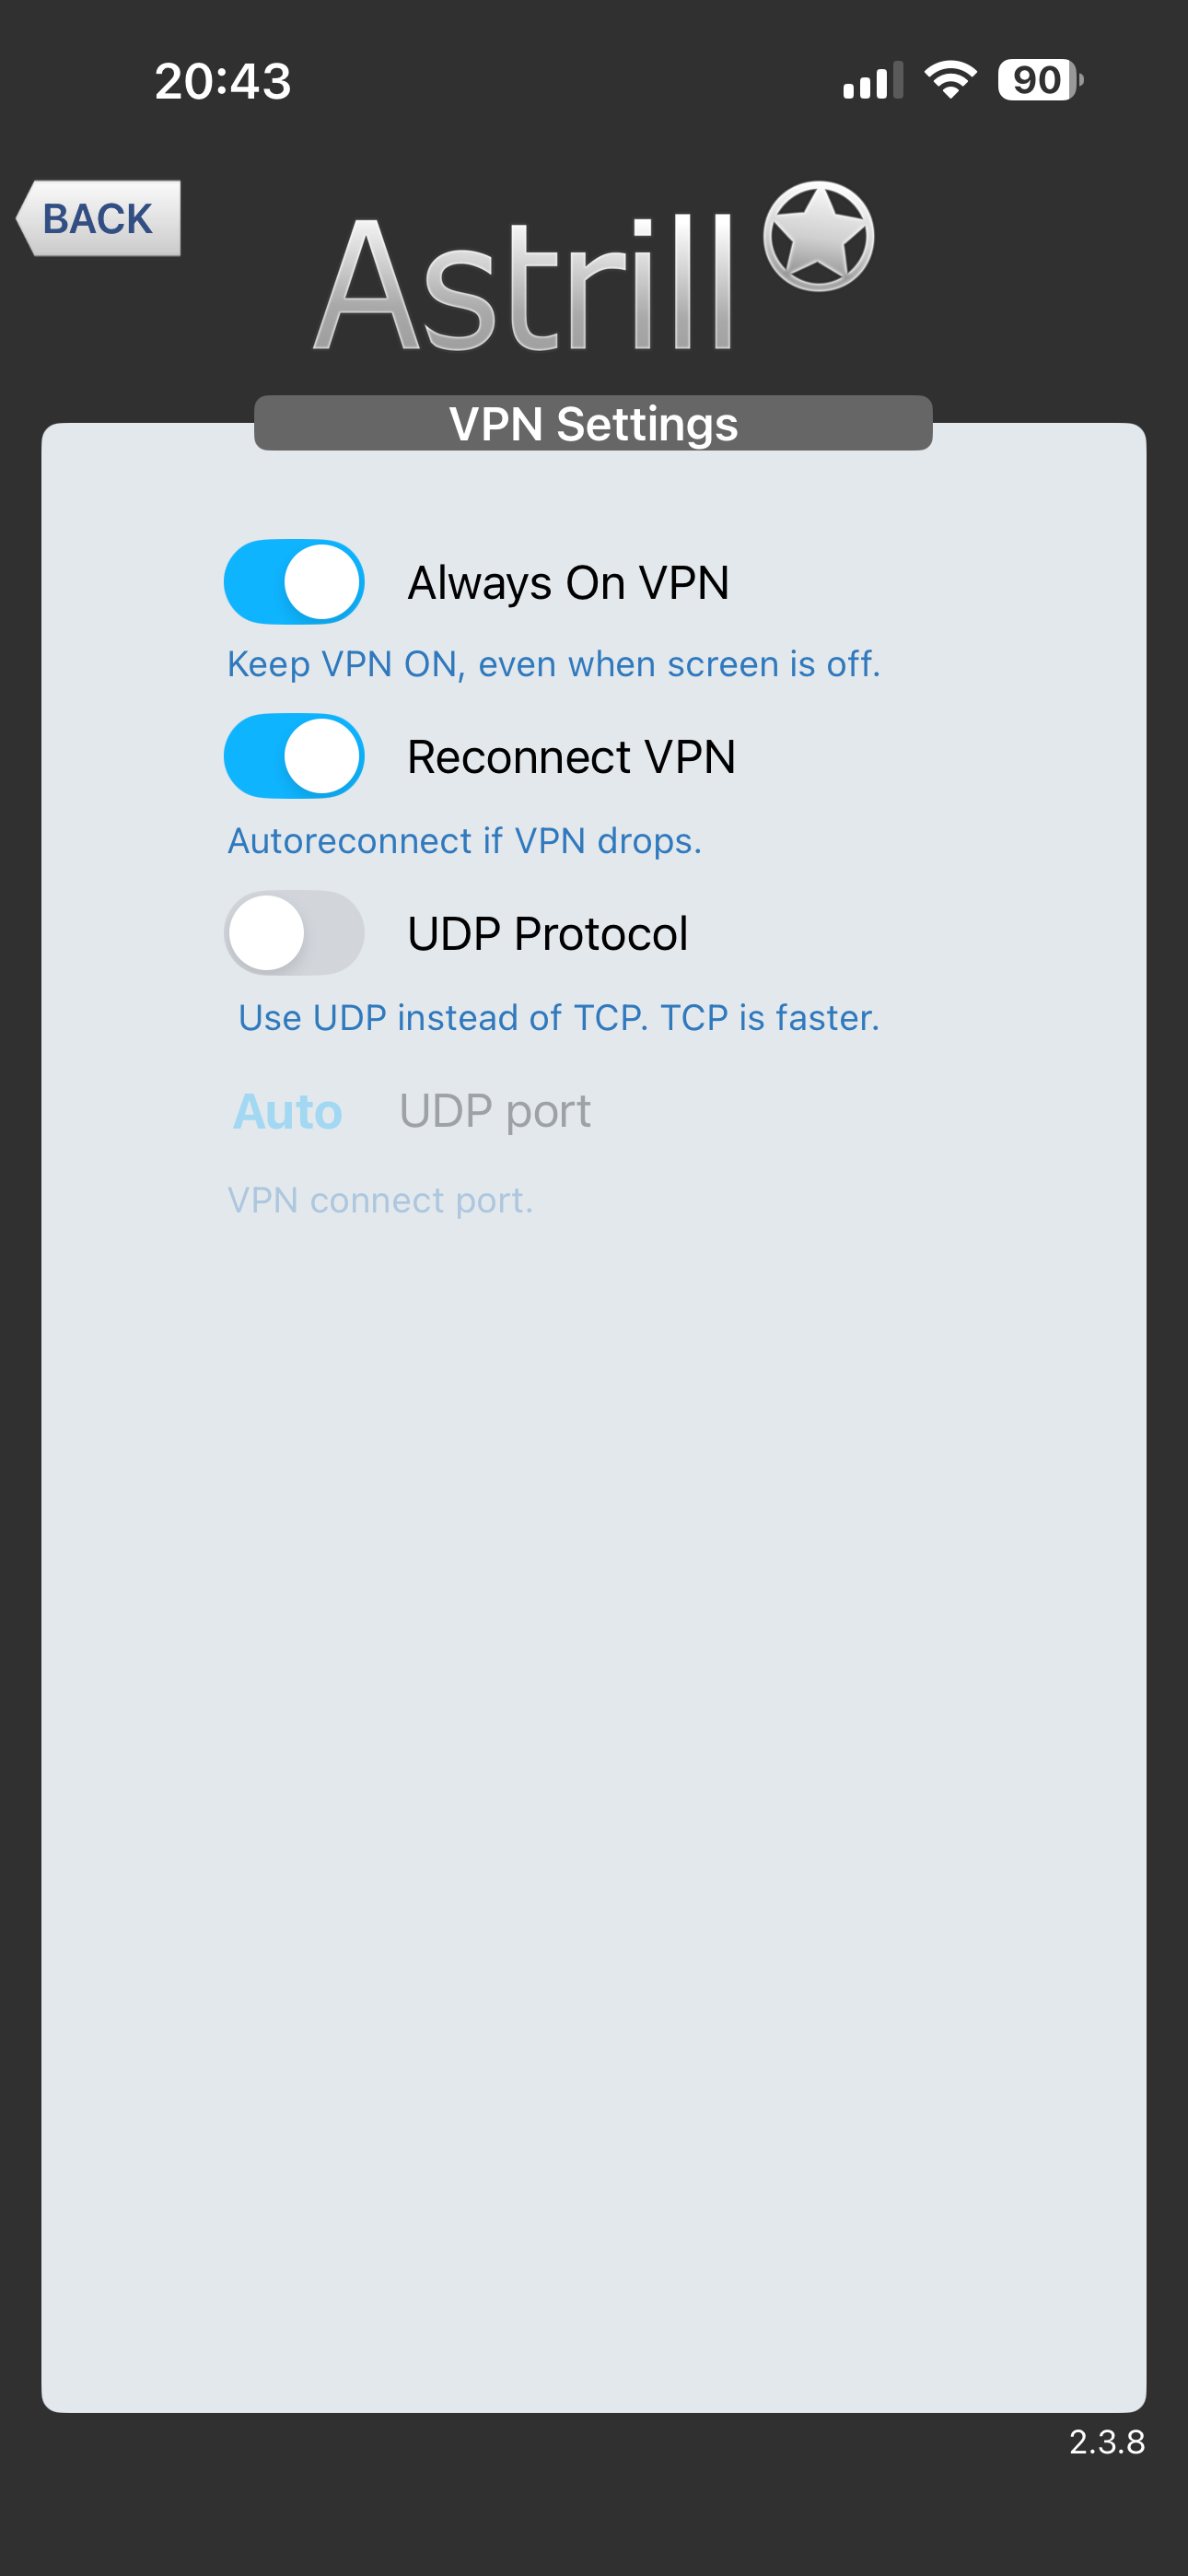
In newer versions of the app, tap the settings icon to find extra options like "Always On VPN" (keeps the VPN active even when your screen is off) and "Reconnect VPN" (automatically reconnects if the connection drops). These are optional and the defaults work fine for most people.